How To Draw A Snowflake: A Step-by-Step Guide For Everyone
Ever wondered how to draw a snowflake that looks just as magical as the ones falling from the sky? Well, you're not alone! Drawing snowflakes is an art that’s simple yet super satisfying. Whether you're a beginner or someone who loves exploring creative outlets, this guide will walk you through every step. So grab your pencil and let's get started!
There’s something enchanting about snowflakes. They’re delicate, intricate, and no two are exactly alike. This uniqueness makes them a perfect subject for drawing. Plus, it’s a great way to channel your inner artist without needing fancy tools or expensive supplies.
Before we dive into the nitty-gritty, let’s set the mood. Imagine yourself sitting by a cozy fire with a warm drink in hand. Now, picture snowflakes gently drifting outside your window. Doesn’t that sound like the perfect setting to learn how to draw one? Let’s make it happen!
Read also:Put It In Reverse Terry A Deep Dive Into The Phenomenon Thats Got Everyone Talking
Why Drawing Snowflakes is So Much Fun
Drawing snowflakes isn’t just about creating pretty pictures. It’s about tapping into the beauty of nature and expressing yourself creatively. Here are a few reasons why people love this activity:
- It’s relaxing and meditative, helping you unwind after a long day.
- You don’t need expensive materials—just a pencil and paper will do.
- Each snowflake you create is unique, just like the real thing!
- It’s a fun winter activity that the whole family can enjoy together.
Plus, once you master the basics, you can experiment with different styles and designs. Who knows? You might even discover a hidden talent for drawing!
Getting Started: What You’ll Need
Before we jump into the drawing process, let’s talk about what you’ll need. Don’t worry; it’s nothing complicated. Here’s a quick list:
- A piece of paper (any type will work, but smooth drawing paper is ideal).
- A pencil or pen—your choice! Pencils are great for sketching, while pens give a bolder look.
- An eraser if you’re using a pencil (trust me, mistakes happen, and that’s okay).
- Optional: colored pencils, markers, or crayons to add some flair to your masterpiece.
That’s it! No fancy tools required. The beauty of drawing snowflakes lies in its simplicity. Now, let’s move on to the exciting part—the actual drawing process.
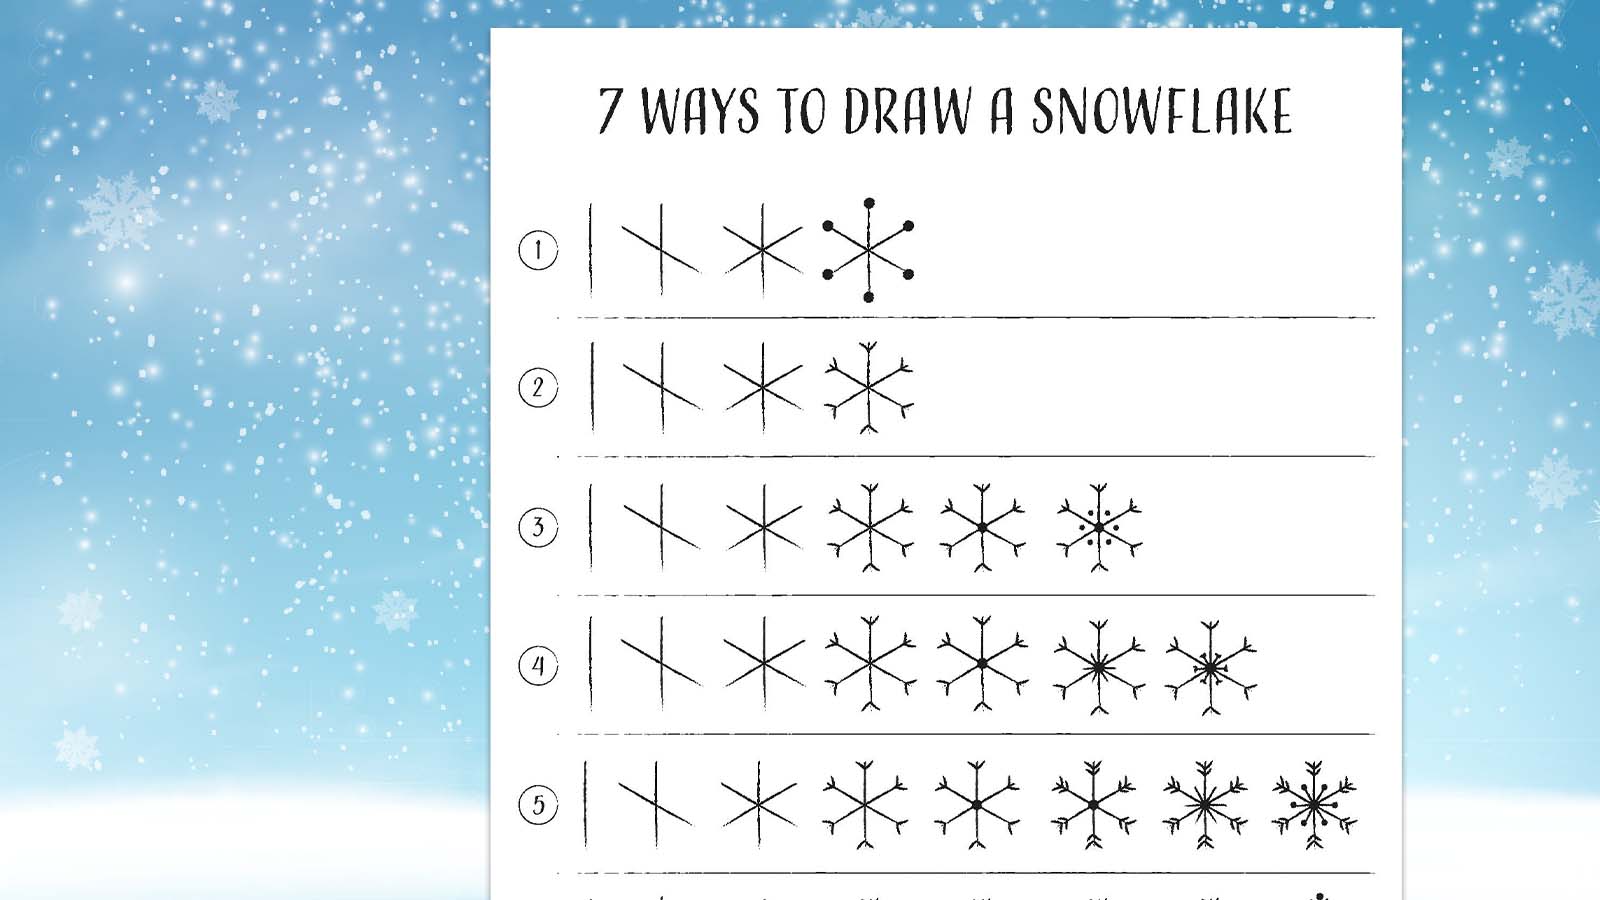
Step 1: Start with the Basics
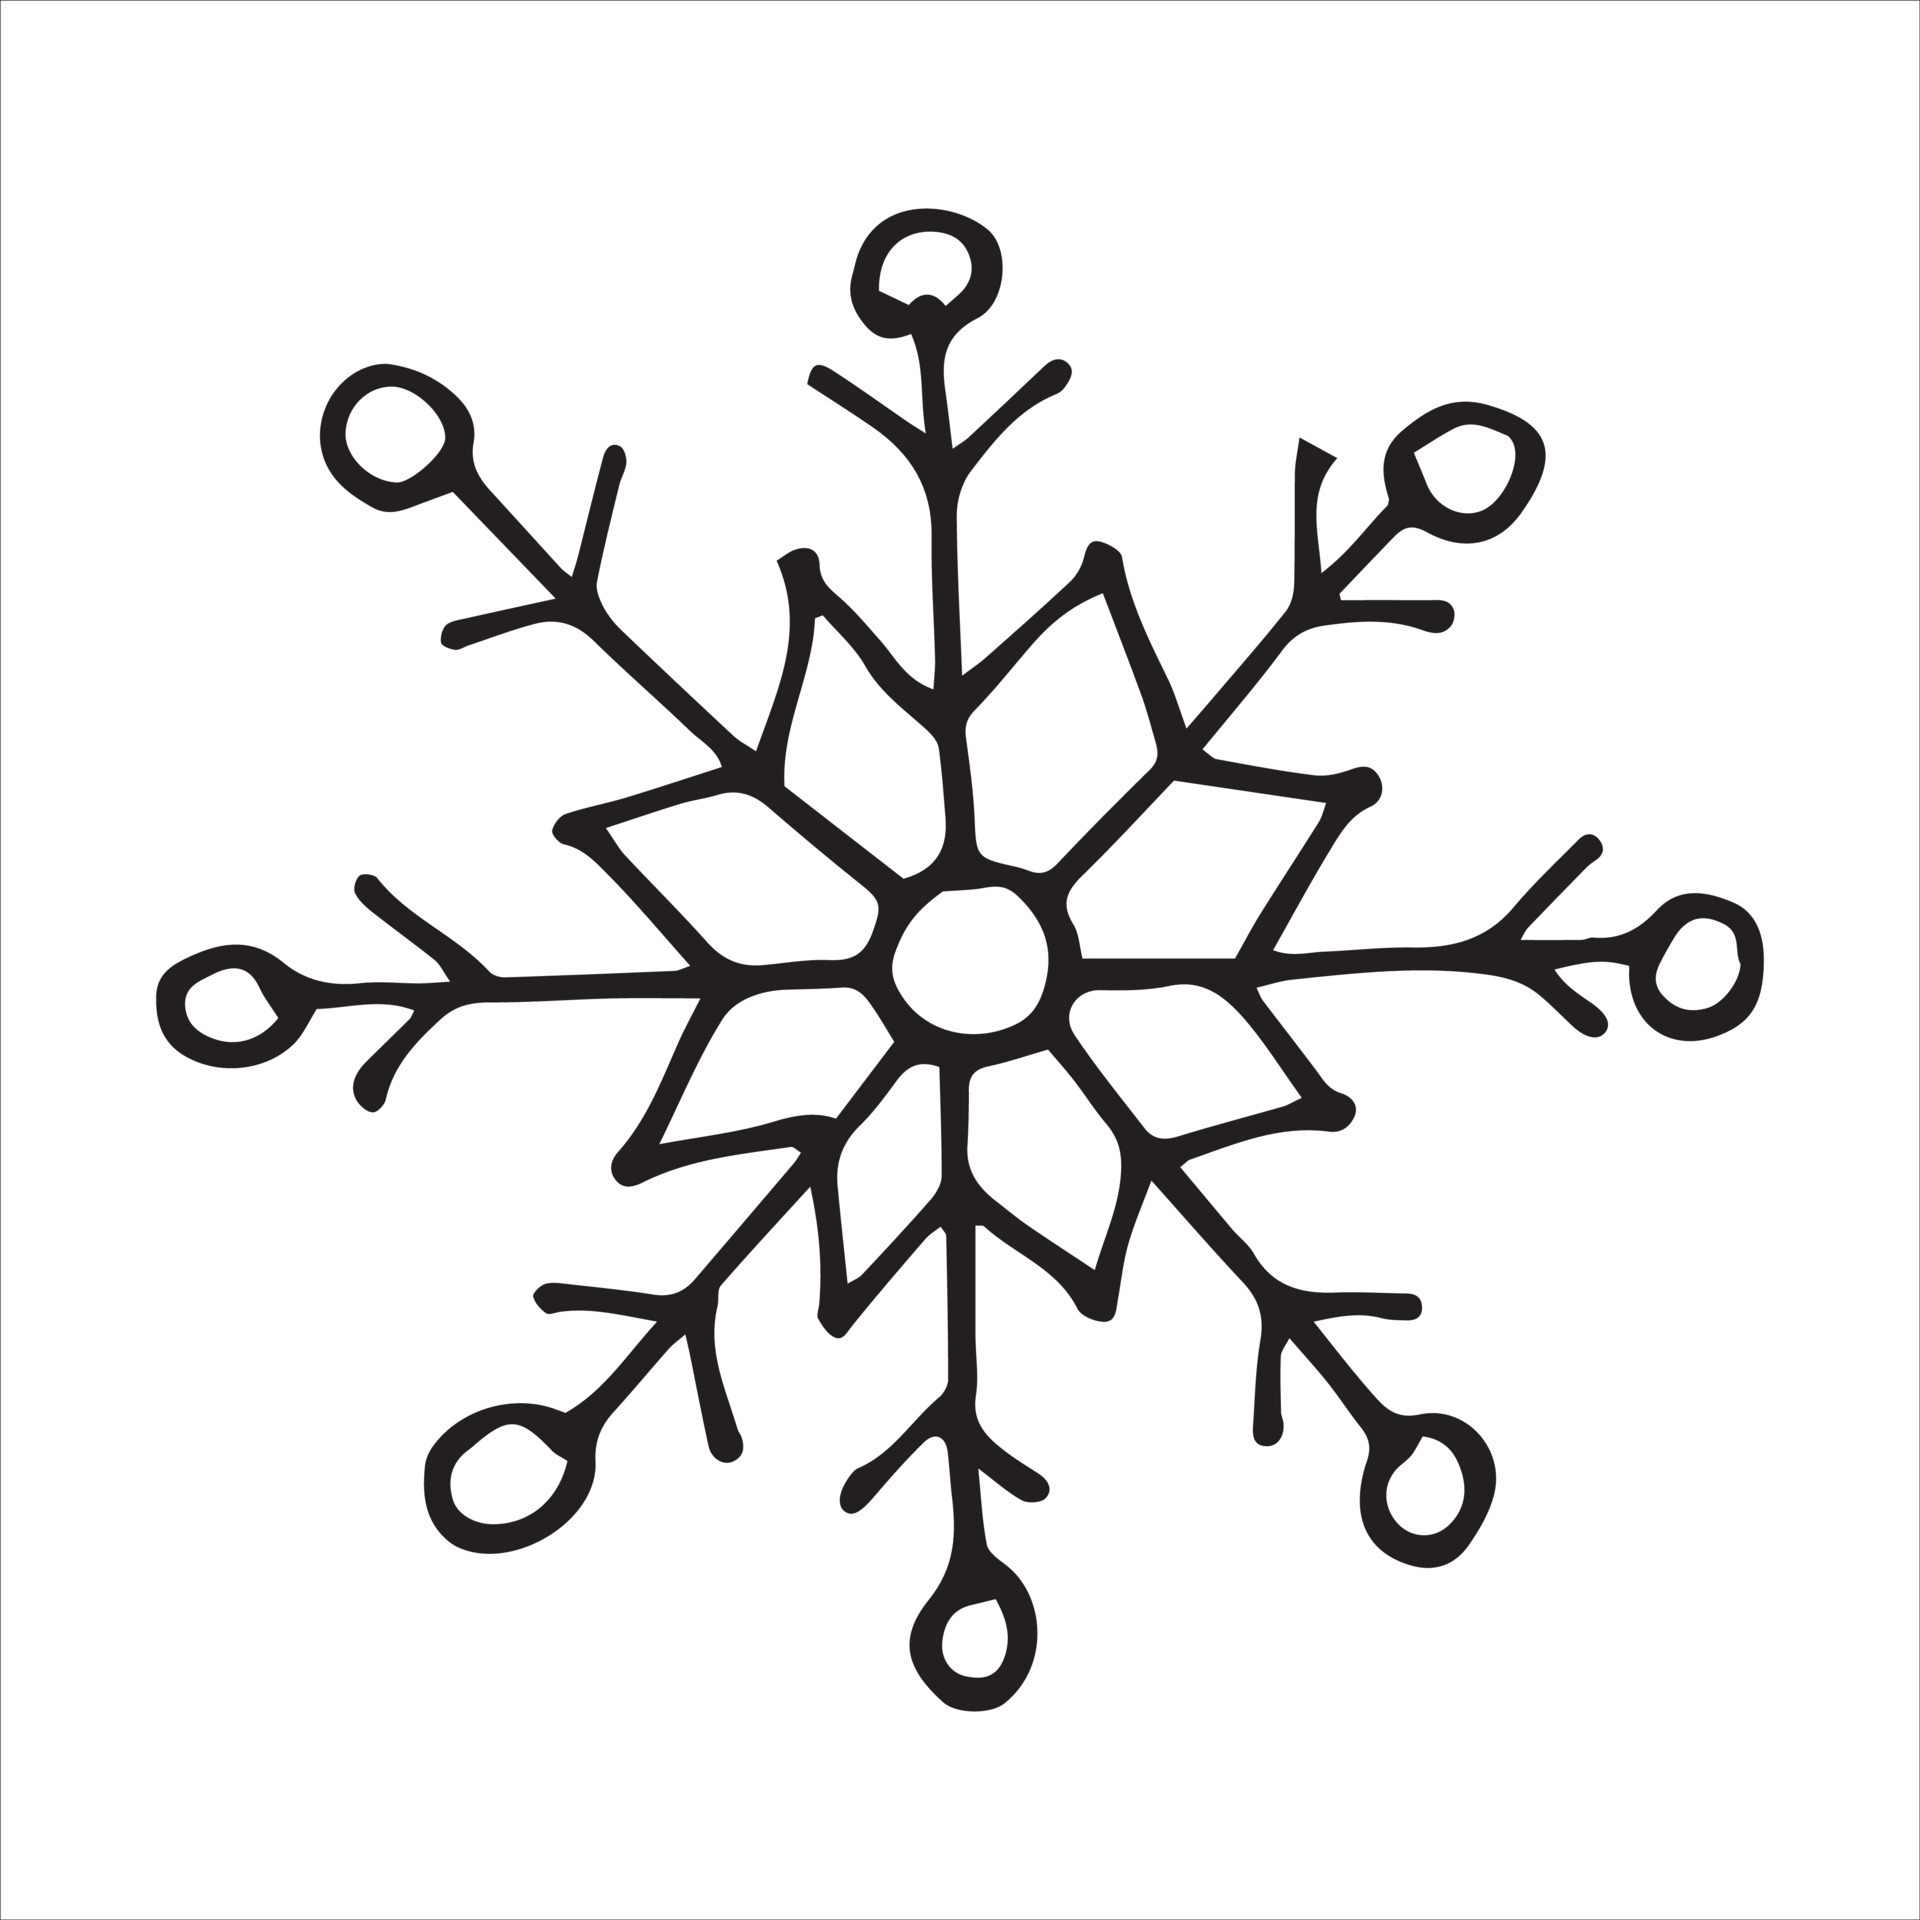
Every great snowflake starts with a simple shape. Begin by drawing a small circle in the center of your paper. Think of this as the snowflake’s “core.” It doesn’t have to be perfect—it’s just a guide for what’s coming next.
From there, draw six straight lines extending outward from the circle. These will serve as the snowflake’s main arms. Make sure they’re evenly spaced apart, kind of like the spokes of a wheel. If you’re not confident in your spacing, you can use a protractor or just eyeball it. Remember, imperfections make your snowflake unique!
Read also:How Much Do Plumbers Make Unlocking The Secrets Behind Plumbers Paychecks
Tips for Perfecting Your Lines
Here are a few tricks to help you draw those lines like a pro:
- Use light strokes so you can easily erase any mistakes.
- Try to keep the lines roughly the same length for balance.
- Don’t stress too much about symmetry—real snowflakes aren’t perfectly symmetrical either!
Once you’ve got your lines down, take a step back and admire your work. You’ve just laid the foundation for your snowflake masterpiece!
Step 2: Add Some Detail
Now that you’ve got the basic structure, it’s time to add some personality to your snowflake. Start by drawing smaller branches off each of the main arms. Think of these as the snowflake’s “fingers.”
You can make them straight, curved, or zigzagged—it’s completely up to you. The key is to have fun and let your creativity shine. If you want to keep things simple, stick to a few small branches. But if you’re feeling adventurous, go wild with intricate patterns!
Experiment with Patterns
One of the coolest things about snowflakes is their endless variety of patterns. Here are a few ideas to inspire you:
- Starburst: Add tiny spikes radiating outward from the main arms.
- Fern-like: Create feathery branches with lots of little offshoots.
- Hexagonal: Incorporate hexagon shapes for a geometric look.
Feel free to mix and match these patterns or come up with your own. There’s no right or wrong way to draw a snowflake—just let your imagination guide you!
Step 3: Refine Your Design
At this point, your snowflake should be starting to take shape. Now it’s time to refine your design and add those finishing touches. Go over your lines with a darker pencil or pen to make them stand out. If you made any mistakes earlier, now’s the time to erase them.
Take a moment to evaluate your snowflake. Are there any areas that need more detail? Any parts that feel too crowded? Adjust as needed until you’re happy with the overall look. Remember, this is your snowflake, so make it reflect your personal style!
Pro Tip: Keep It Balanced
While symmetry isn’t essential, maintaining a sense of balance can make your snowflake look more pleasing to the eye. Try to distribute your details evenly across all six arms. But again, don’t stress too much about perfection—your snowflake’s quirks are what make it special!
Step 4: Add Color (Optional)
Once your snowflake is complete, you might want to add a splash of color. This is totally optional, but it can really bring your drawing to life. Here are a few ideas:
- Use blue and white shades to mimic the icy appearance of real snowflakes.
- Experiment with metallic colors like silver or gold for a sparkly effect.
- Go bold with bright hues if you want to create a more abstract look.
Whatever colors you choose, have fun with it! Coloring your snowflake is a great way to express your personality and make your artwork truly unique.
Common Mistakes to Avoid
Even the best artists make mistakes sometimes, and that’s okay! Here are a few common pitfalls to watch out for when drawing snowflakes:
- Overcomplicating the design: Sometimes less is more. Don’t feel like you have to fill every inch of your snowflake with details.
- Ignoring symmetry: While perfection isn’t necessary, try to keep your snowflake balanced and visually appealing.
- Pressing too hard: Light strokes are easier to erase if you make a mistake, so start light and build up as you go.
Remember, practice makes perfect. The more you draw, the better you’ll get. So don’t be discouraged if your first few attempts don’t turn out exactly as you hoped. Keep trying, and you’ll soon be creating beautiful snowflakes in no time!
Advanced Techniques for Snowflake Drawing
If you’re ready to take your snowflake-drawing skills to the next level, here are a few advanced techniques to try:
1. Add Dimension
Give your snowflake some depth by shading certain areas. Use a lighter pencil to create subtle shadows, or try cross-hatching for a more dramatic effect.
2. Experiment with Materials
Switch things up by using different art supplies, like charcoal or watercolors. Each material will give your snowflake a unique look and feel.
3. Combine Snowflakes
Why stop at one? Try drawing multiple snowflakes together to create a stunning winter scene. You can vary their sizes and designs to add interest and depth.
These techniques will challenge you and help you grow as an artist. Don’t be afraid to step out of your comfort zone and try something new!
How to Draw a Snowflake: A Recap
So there you have it—everything you need to know about how to draw a snowflake. Let’s quickly recap the key steps:
- Start with a circle and six evenly spaced lines.
- Add branches and details to create your unique pattern.
- Refine your design and add color if desired.
- Avoid common mistakes and practice regularly.
Drawing snowflakes is a wonderful way to connect with nature and express your creativity. Whether you’re doing it for fun or as part of a larger project, remember to enjoy the process and let your imagination run wild.
Final Thoughts and Call to Action
Now that you know how to draw a snowflake, it’s time to put your new skills to the test. Grab your supplies and start creating your own winter wonderland on paper. And don’t forget to share your masterpieces with others—there’s nothing quite like the joy of seeing someone admire your work.
Before you go, I’d love to hear from you. Did you find this guide helpful? What’s your favorite type of snowflake to draw? Leave a comment below and let me know. And if you enjoyed this article, be sure to check out some of our other tutorials on art and creativity. Happy drawing!
Table of Contents
Here’s a quick navigation guide to help you jump between sections:
- Why Drawing Snowflakes is So Much Fun
- Getting Started: What You’ll Need
- Step 1: Start with the Basics
- Step 2: Add Some Detail
- Step 3: Refine Your Design
- Step 4: Add Color (Optional)
- Common Mistakes to Avoid
- Advanced Techniques for Snowflake Drawing
- How to Draw a Snowflake: A Recap
- Final Thoughts and Call to Action

